I was so excited when a request was made for a dish! Then I realized it was for chicken karaage and then I immediately thought how is this ever going to work. My biggest complaints about the dish were always…
- dry
- soggy (Yes, a dish that is both dry and soggy…)
- greasy
- all of the above
By breaking away from standard methods of preparing the dish, I am happy to say that you can make a moist and crispy chicken karaage without being greasy! It does take a bit of planning, but I think it is well worth it for some amazing results!
List of Ingredients
- 1-1 ½ lbs. Boneless chicken thigh, skin-on
- 5 Tbs. Soy sauce or tamari sauce and enough water to fill up to 1 C liquid
- ½ Lemon, sliced
- ½ Cup ginger, peeled and thinly sliced
- 1 Clove garlic, smashed
- 3 Tbs. (heaping) Rice flour (not glutinous rice flour) for batter plus more if necessary, avoid using Bob’s Red Mill as it will seem gritty. The rice flour can be purchased from any Asian market.
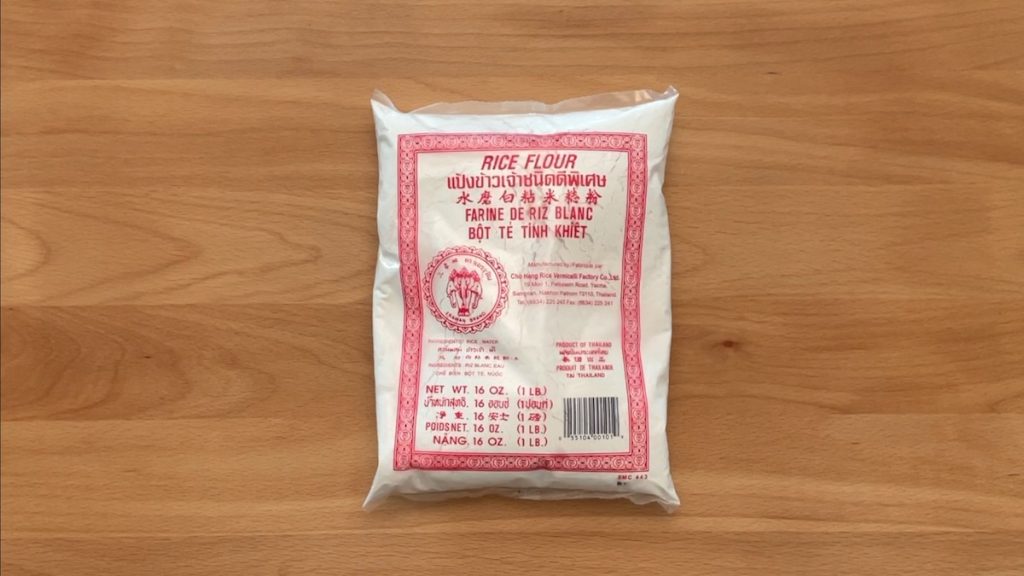
Rice Flour - Milk or non-dairy substitute to form batter (I like using oat milk.)
- Cornstarch (or potato starch) for coating chicken
- Oil for frying, enough for about 1 inch deep (I use refined not virgin coconut oil. It’s my favorite oil for deep frying.)
List of Tools
- Measuring cup
- Measuring spoons and/or measuring glass
- ½ Cup measuring cup
- Small mixing bowl or I use a 4 cup measuring cup for making the brine
- Chopsticks and spoon
- Cutting board and knife
- Paring knife or spoon for peeling ginger
- Glass container with lid or gallon sized Ziploc
- Small bowl for batter
- Small bowl for cornstarch
- Two large plates – one lined with paper towels for the draining chicken, one for the battered chicken
- Heavy gauge pot (I use a 3 quart pot to use less oil.)
- Cooking chopsticks or tongs
- Cooling rack and paper towels and baking sheet for the fried chicken
- Serving plate
Directions
Prepare the chicken thigh
Cut boneless chicken thigh with skin-on into 1” by 1” pieces. Cut the pieces into similar sizes to cook evenly and relatively small to cook thoroughly. Typically, it is easier to find bone-in chicken thigh which will need to be deboned. When finished cutting the chicken into pieces, place in a lidded container or a gallon sized Ziploc. Set aside.
Prepare the brine for the chicken
Add 5 Tbs of soy sauce or tamari sauce to a 4 cup measuring cup. Now, add enough cold water to the measuring cup for 1 cup of liquid. Slice ½ a lemon thinly. Squeeze the slices over the measuring cup and then add into the brine. Add 1/2 cup peeled and thinly sliced ginger. Add 1 peeled and smashed garlic clove and 1/4 Tsp maple syrup or similar sweetener. Give the brine a good stir and check the flavors for a good balance. Set aside.
Add chicken to brine
Pour brine into the container with the chicken. Mix thoroughly and cover. Let sit in the refrigerator 4-5 hours or even longer.
For the last 30-60 minutes, pull out the container from the refrigerator and let it come up to room temperature. (This will make for crispier chicken when fried.)
Using a large plate lined with paper towels, pull the chicken out of the brine and let drain on the plate. Lightly pat the chicken on top to soak up additional brine.
Coat the chicken
Traditional karaage does not use a batter (and doesn’t brine either) but it is worth the extra step. Make a rice flour batter with a non-dairy substitute or milk. (Consistency should be similar to pancake batter.) Dip the now dry pieces of chicken inside the batter and dredge with cornstarch. Set aside the pieces on a different large plate. (Grab another plate if you run out of room for all the battered chicken. Do not stack or overcrowd.)
Fry the battered chicken
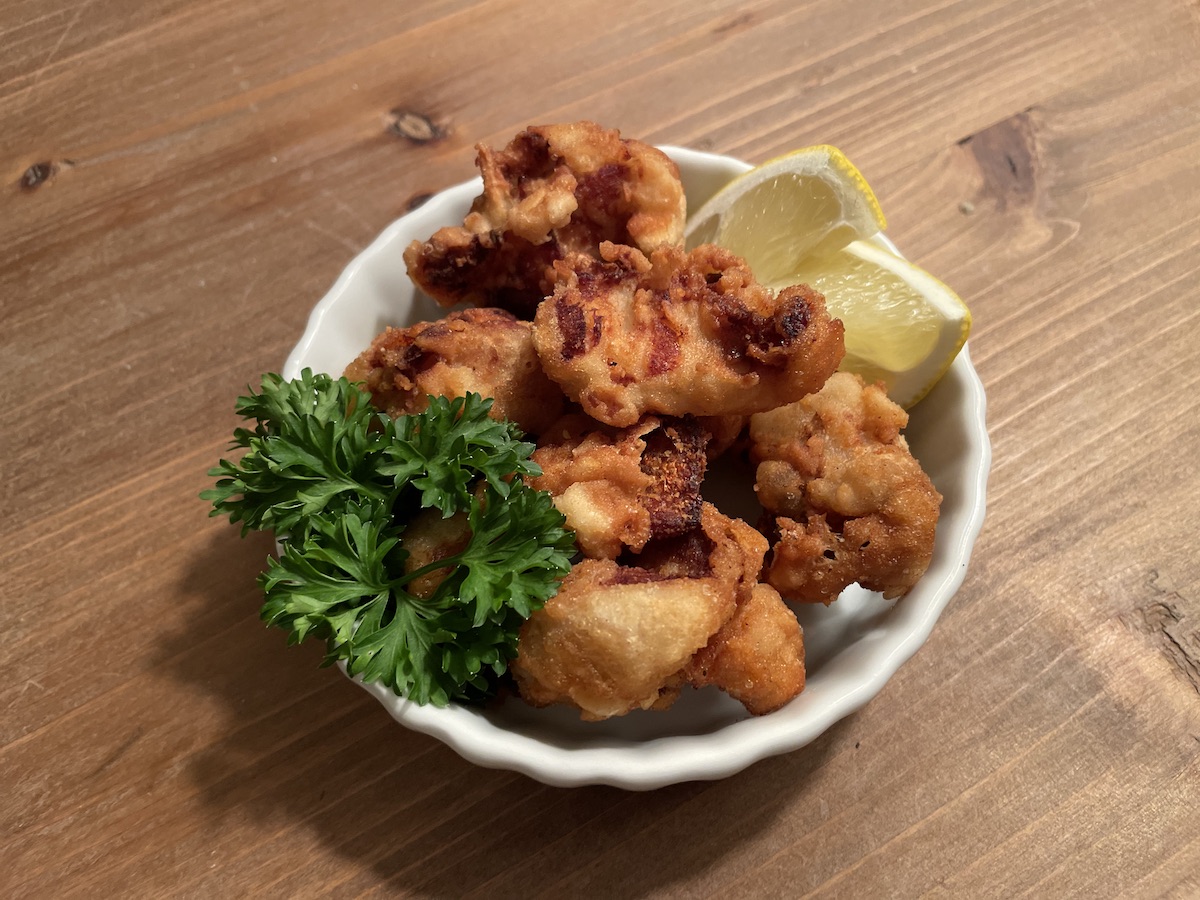
Heat the oil in the pot (enough for about 1 inch deep) on medium high. The oil is ready when it bubbles quickly when a small piece of chicken is added. (The piece of chicken should also float quickly to the surface.) Once heated, begin adding the chicken to the oil, do not overcrowd. Let fry untouched to set the batter then check that no pieces are stuck to the bottom. Be good about agitating the pieces so that they cook evenly. The chicken is cooked when the outside is golden and has browned evenly. Place the cooked pieces on a baking sheet lined with paper towels and a cooling rack on top. Continue until all of the chicken is cooked. Serve with some freshly squeezed lemon juice!
Enjoy!

Don’t forget to submit a photo of your creations! You can upload your photos using my Contact form!