Yay! Today, I have posted my kick-off video on how to make a 7-ingredient sushi roll where you learn everything in under 7 minutes!
There was a lot of content in a very short amount of time, so hopefully this post helps clarify any confusing points. Let’s just go down the highlights!
List of Ingredients
(An Amazon shopping list is also available here.)
- 3 Cups Uncooked Medium Grain Rice — I like Nishiki since it’s a nice compromise between taste and cost. Can use any brand, but I would definitely suggest branching out in the future.
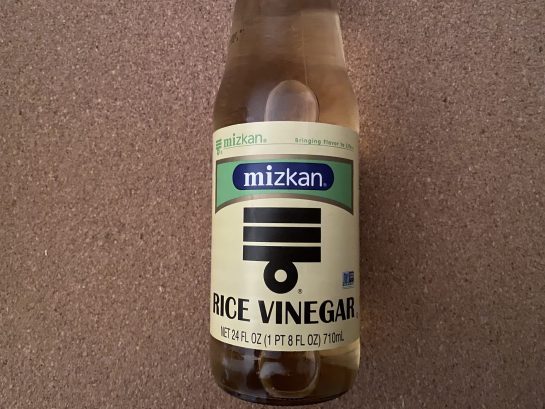
- ¼ Cup Rice Vinegar — Mizkan is my favorite. I like this particular label (see photo below) but any brand can be used. Just know that different brands have subtle differences.
- ¼ Cup Sugar — Evaporated cane sugar or white sugar. Either will work.
- ~½ Tsp. Kosher Salt — Please use kosher salt! And if you can, purchase Diamond Crystal. I promise it’s worth the effort. Morton’s Kosher salt is slightly different so be careful, and use sparingly.
- 1 Package of Smoked Salmon — Cold smoked. It’s sometimes referred to as Nova smoked salmon.
- 1 Block of Cream Cheese — Any brand in the big block. Please do not get whipped cream cheese! We will need to cut it into strips.
- 1 Package of Nori — Any brand with perforations. Most packages are sold with perforated nori, so don’t worry too much.
List of Tools
(An Amazon shopping list is also available here.)
- Rice Cooker (optional) — Helpful and highly recommended. (I bought mine at Costco!)
- Rice Rinser — Any bowl will do.
- Rice Paddle — Can be purchased in any Asian market.
- Large Bowl — Big enough to mix the rice without making a mess, but shallow enough to let the rice steam out while mixing.
- Measuring Cup and Stirring Utensil — These are for stirring the vinegar and sugar. I use chopsticks as my utensil of choice.
- Bamboo Sushi Mat — Can be purchased in any Asian market. Mine measures 9.5 inches by 8 inches.
- Sharp Knife and 2 Cutting Boards
- Sponge (optional) — To be used when cutting the sushi, but not necessary. Cutting sushi requires a wet blade so using a saturated sponge is very helpful. However, running your blade under a faucet will do!
- Serving Plate — I like to use a cutting board, but any plate will do the trick!
Prepare the Basic Sushi Rice
Prepare 3 cups of uncooked rice (measured by a rice cooker measuring cup)¹ by first rinsing the rice until the water runs clear. (Rinsing helps remove the starch which will give better texture.)
Drain thoroughly. If using a rice cooker, pour the rinsed rice into the rice pot. Fill the pot with water just under the 3 cup line for white rice. Cooking the rice with a little less water will help with the final product. The sushi rice should not end up mushy. Cook on the normal white rice setting, not the sushi setting.
¹ A rice cooker measuring cup and is approximately ¾ cup using standard measuring cups.
Mix together the ¼ cup rice vinegar and ¼ cup sugar and stir until dissolved. Then, set aside. Often it takes time for the sugar to dissolve into the vinegar, so it helps to stir the vinegar from time-to-time as you’re preparing the other ingredients.
When you’re ready to roll the sushi, move the rice to your large bowl. Spread out the rice a bit in the bowl to let it steam out. Now add the vinegar-sugar mixture. Sprinkle a little bit of kosher salt and mix until the vinegar is fully absorbed.
Once the vinegar is absorbed, I like to do a taste test. Typically the only adjustment needed is a tiny bit more salt. Please remember that sushi rice is subtle in flavor! It is better to be conservative on the flavor with the rice than to over do it.
Rolling the Sushi
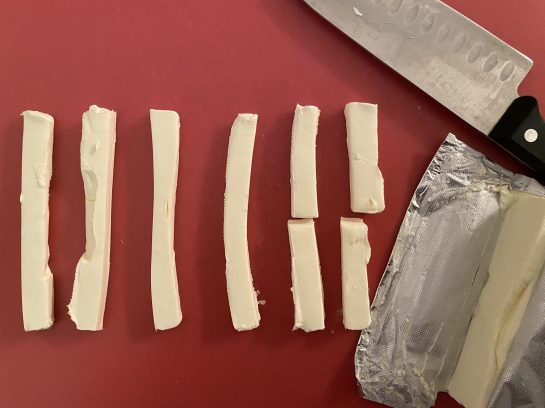
Now it’s time to prepare the salmon and cream cheese. Separate the salmon into usable slices. For the cream cheese, cut an ¼ inch slice from the block from the long side. Cut the slice into two to make two long strips. Continue until you cut the entire block of cream cheese. Some of your strips then need to be cut in half lengthwise to make four pieces. (See picture below)
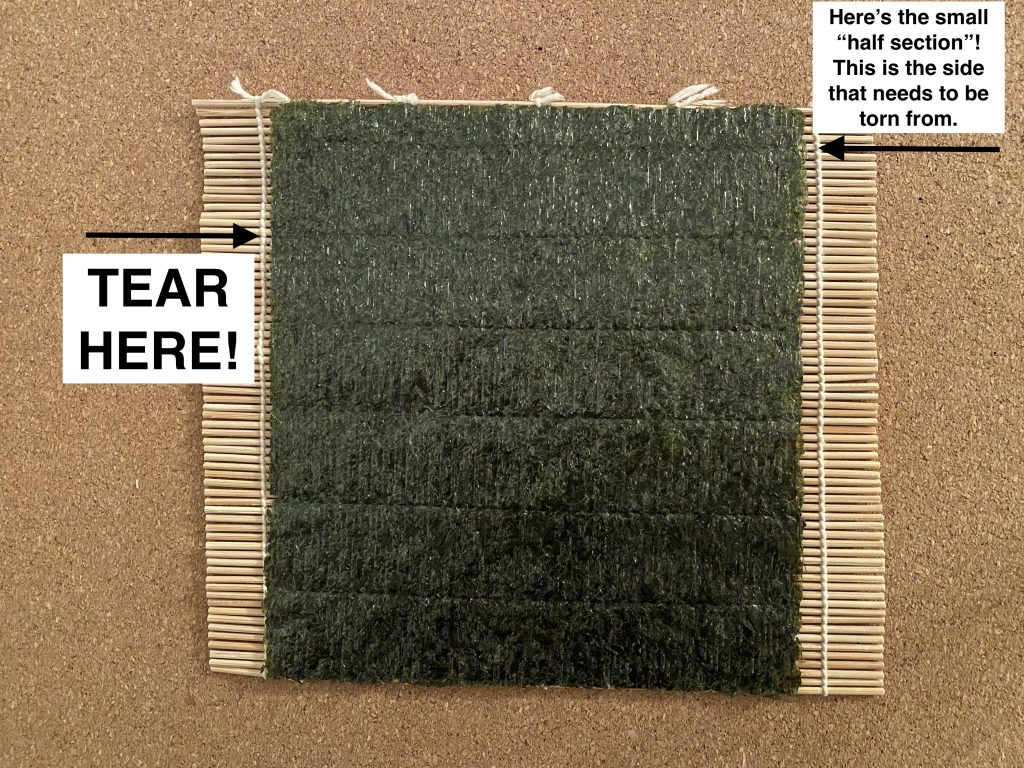
Once you are happy with the rice, prepare the nori. There is a shiny side and a rough side. The shiny side faces down toward the bamboo mat. (That is the side that you will want to show after rolling.)
Look for the perforations. There is always one row that will be a little shorter. This is the side that you will want to tear from! Fold off the first full row from that side. (See the photo below.) Tear off this 1.5 row piece, and save it for another day. (You can make onigiri!) Place the larger piece shiny-side down on the mat.
With the nori on the mat, start spreading the sushi rice on top. Start from the first perforation and spread to the bottom. You can leave a little wiggle room on the sides and bottom. The rice is loosely spread in about a ¼ inch thickness.
Take one piece of salmon and spread close to the bottom edge of the rice closest to you. You may need to tear a shorter piece of salmon to cover across the full length. Now take 1 long piece of cream cheese and one of the half pieces to cover across the full length of the mat. Place the cream cheese next to the smoked salmon.
Grab the edge of the nori closest to you along with the edge of the bamboo mat with your index finger and thumb. Hold the salmon/cream cheese in place with the rest of your fingers.
Now very calmly roll away from you. Try to get a tight roll, and then firmly squeeze. Lift the edge of the bamboo mat from the center and roll a little bit more and squeeze. Continue this motion until the nori is fully wrapped around the roll.
If the nori is not fully stuck to itself, place that side with the seam down on a cutting board. It should be set once you are finished rolling. If not, go ahead and wet your finger and carefully wet the portion of the nori that is not stuck and press down.
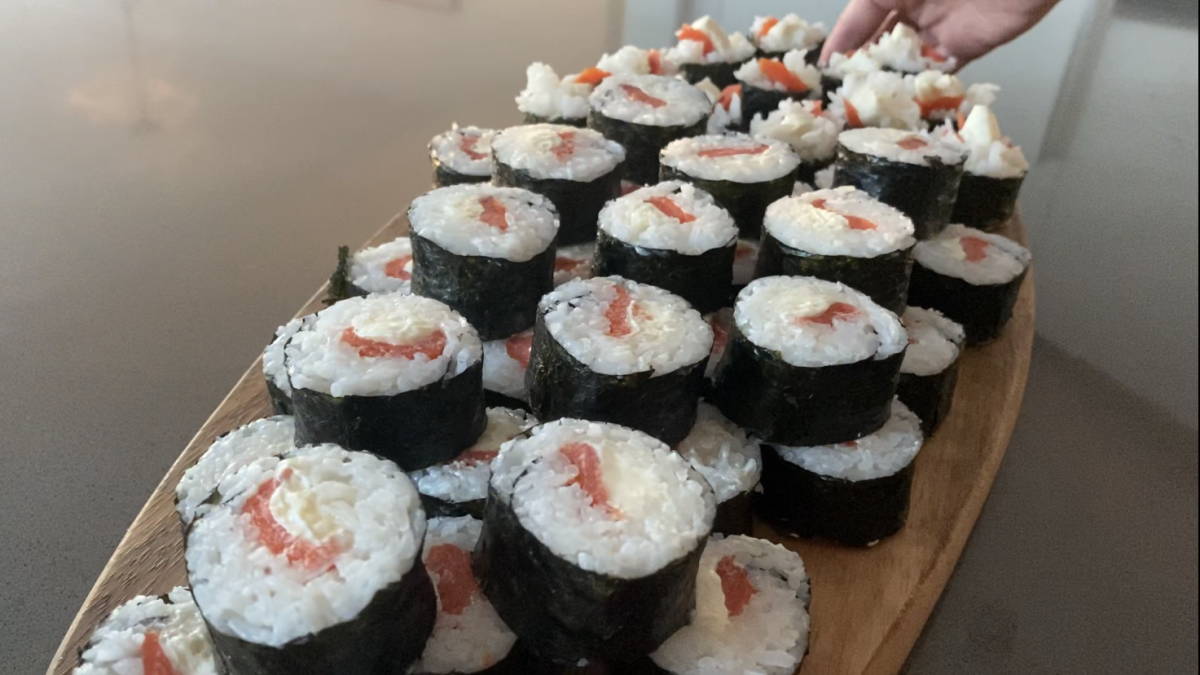
Once all the rolls are completed, (I was able to make 6 rolls using all of the rice!) it’s time to cut them! Using your sharp knife, wet the blade (either by wiping the blade with your saturated sponge or by running the blade under the faucet). Take one of your rolls, and cut it in half. Take a half and cut into four pieces. Do the same with the other half and you will have 8 pieces per roll. Remember to continue wetting your blade whenever the nori begins to stick.
Congratulations! It’s time to plate and eat! 🙂

Looks tasty! Excited to try this
Thank you! Hope the rolls turn out for you!