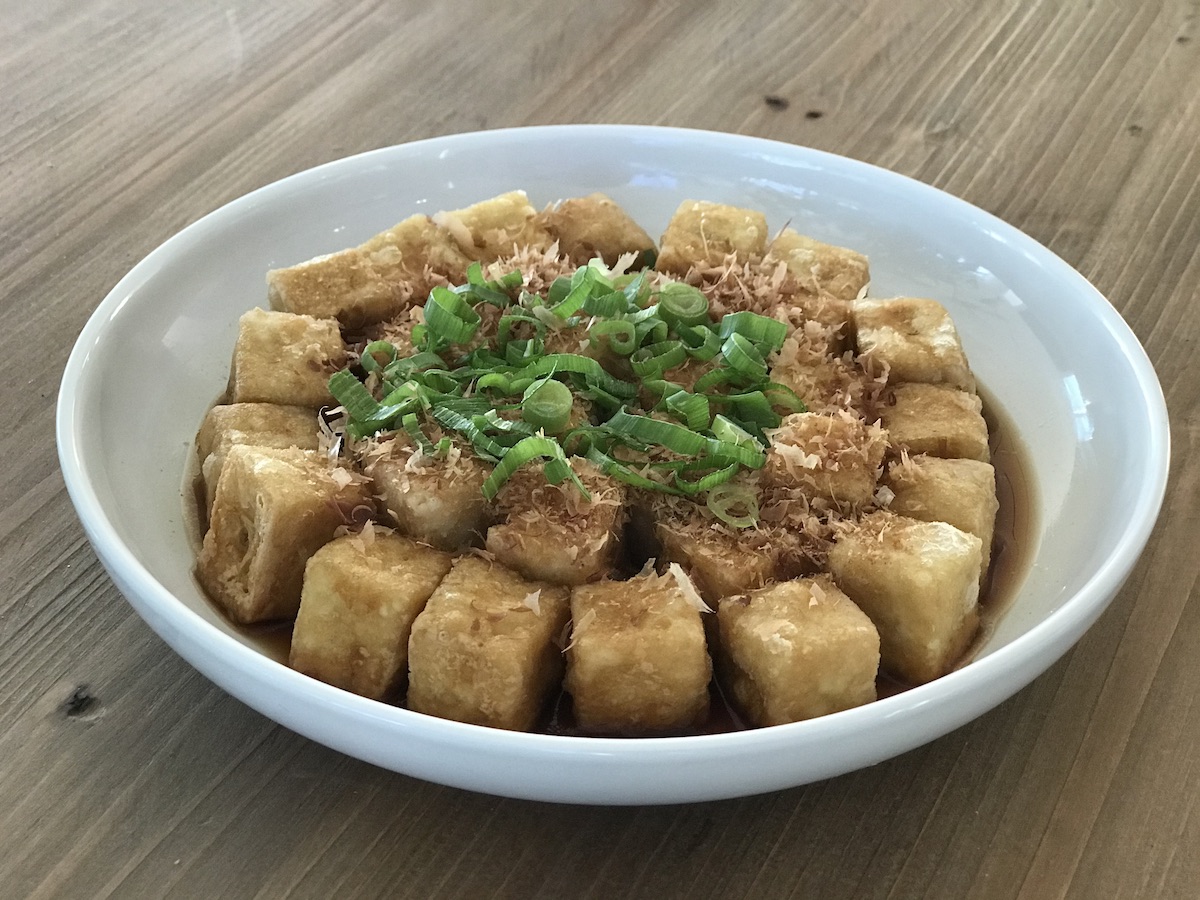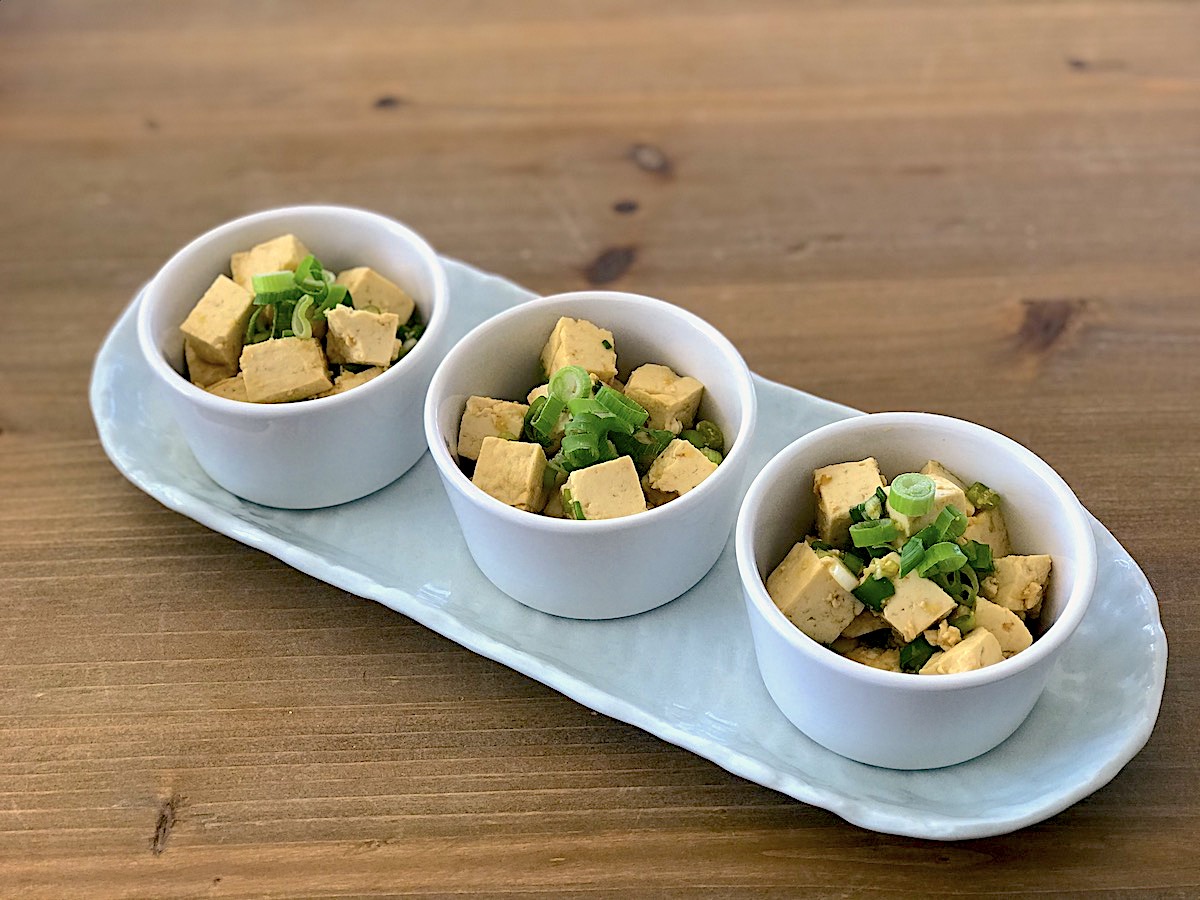
Inspired by my cousin, this savory vegan-friendly ginger tofu dish is simple and satisfying. The sauce is only three ingredients but it can be made even easier with store bought sauce. Every bite feels like a step towards better health inside and out!
List of Ingredients for Ginger Tofu
(3-4 servings)
-
- 1 Block firm tofu, cut into ½ inch cubes
- ~½ Cup Green onions, chopped
- ~1 inch Fresh ginger, peeled and grated
List of Ingredients for Sauce¹
(One full recipe is used for one block of tofu; there should be no leftover sauce.)
-
2 Tbs Rice vinegar (Mizkan if possible)
- 2 Tbs Freshly squeezed lemon juice
-
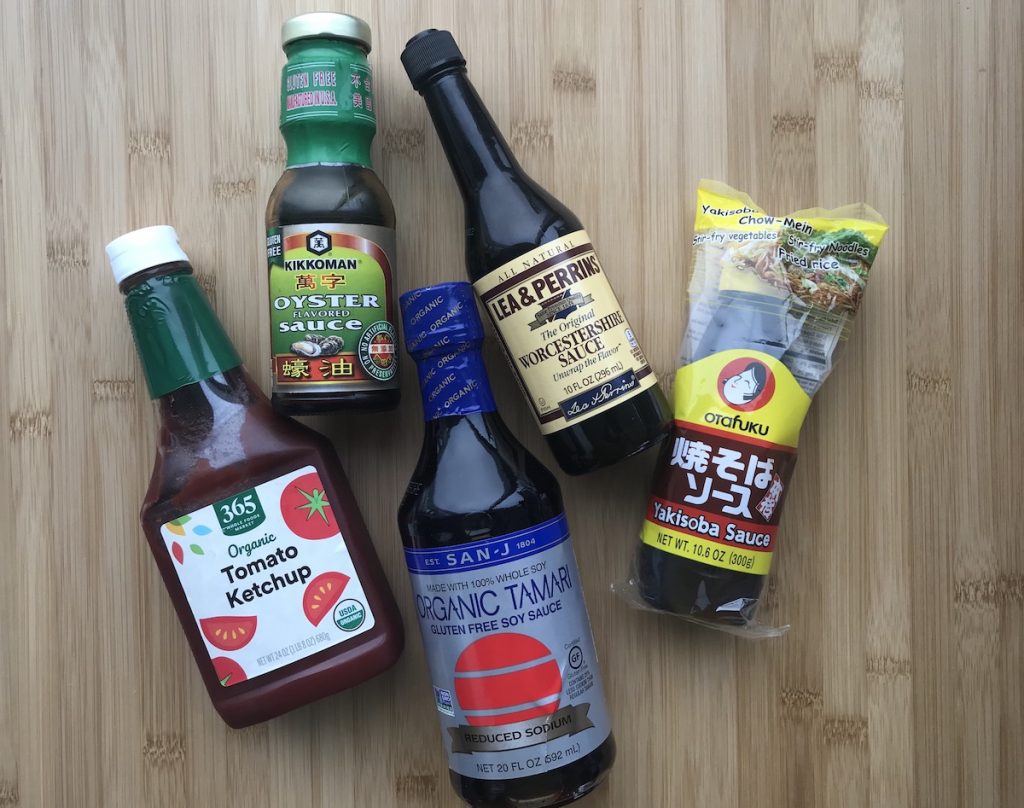
¼ C Soy sauce or tamari sauce
¹ You can substitute store bought ponzu sauce and add to taste. Not all ponzu is created the same, so be sure to check ingredients if you prefer vegan-friendly.
List of Tools
- Small mixing bowl
- Spoon, a large flat surface area preferred
- Measuring cup
- Chopsticks or a spoon to mix the sauce
-
Measuring spoons (measuring glass is helpful but optional)
- ½ C measuring cup
- Cutting board and knife
-
Fine microplane or grater — grating ginger into the dressing
Directions
Cube Tofu
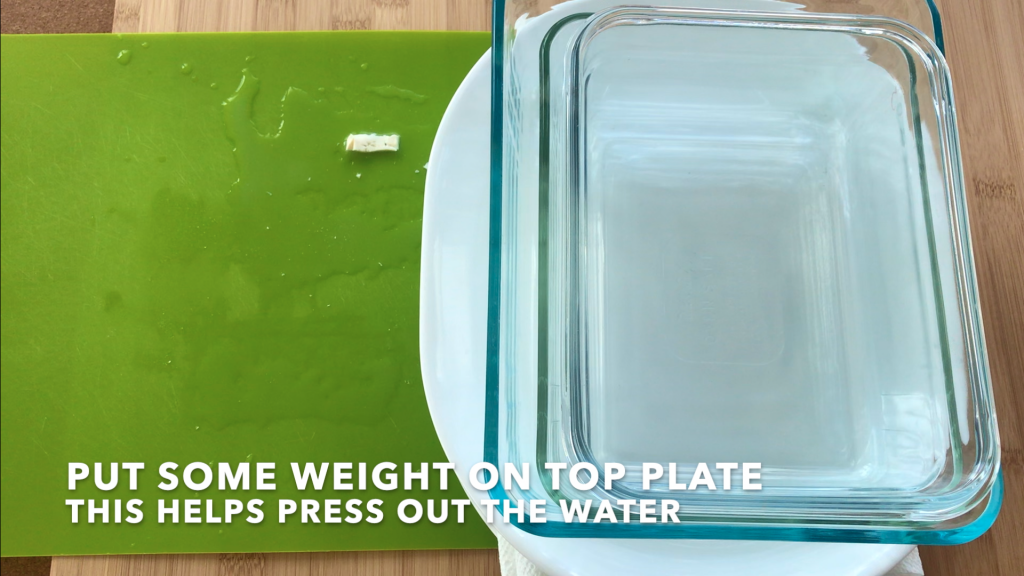
Cut tofu into ~½ inch cubes and place into a medium mixing bowl. Let any water drain out of the tofu into the bowl while preparing other ingredients. (See the video for technique on cutting the tofu).
Mix ingredients for the sauce
Stir the rice vinegar, lemon juice, and soy sauce (or tamari sauce) together and set aside.
Chop green onions
Clean and chop ~½ cupe green onions and set aside.
Prepare ginger
Remove the skin from the ginger by using the edge of a spoon or a paring knife. Peel only as much as needed, if possible. When finished with the ginger, place it in a sealed bag with air removed and put it in the refrigerator crisper. Or for longer storage, put the ginger in the freezer for another time.
bring the dish together
Remove any water that has drained from the tofu into the mixing bowl. Pour the sauce into the bowl. Add the chopped green onions. Grate the ginger into the bowl. Mix the ingredients very carefully to avoid breaking the cubes of tofu. Add enough ginger according to taste. (My gauge for the amount of ginger is watching for the color of the sauce to lighten. My family likes a strong ginger flavor.)
That’s it! Enjoy with some rice!

As an Amazon Associate I earn from qualifying purchases.
Also, don’t forget to submit a photo of your creations! You can upload your photos using my Contact form!