Hi there! My name is Marsha Kumi Pao, and I’m a home cook from the Pacific Northwest. Through my videos and blog, I hope to bring you easy, accessible, and tasty recipes that embody my upbringing as a Japanese-American. These recipes are ones that I’ve grown up on and adopted—merging the tastes of my family’s intergenerational and intercultural cuisine
For those of you who don’t go to Asian markets, here is an Amazon shopping list for you to buy the necessary ingredients and tools!
The reason that I stir the vinegar and sugar mixture throughout the preparation is that it can take some time (often up to 10 minutes) to get the sugar to dissolve in the vinegar. I find it easier to stir it a bit and just come back to stir the mixture as I’m preparing the other ingredients.
For vegan rolls, you can replace the salmon and cream cheese with any number of other ingredients, such as cucumber or takuwan (a pickled preparation of daikon radish).
For more traditional sushi, try tuna or yellow tail and add shiso (an Asian plant of the mint variety) as a garnish.
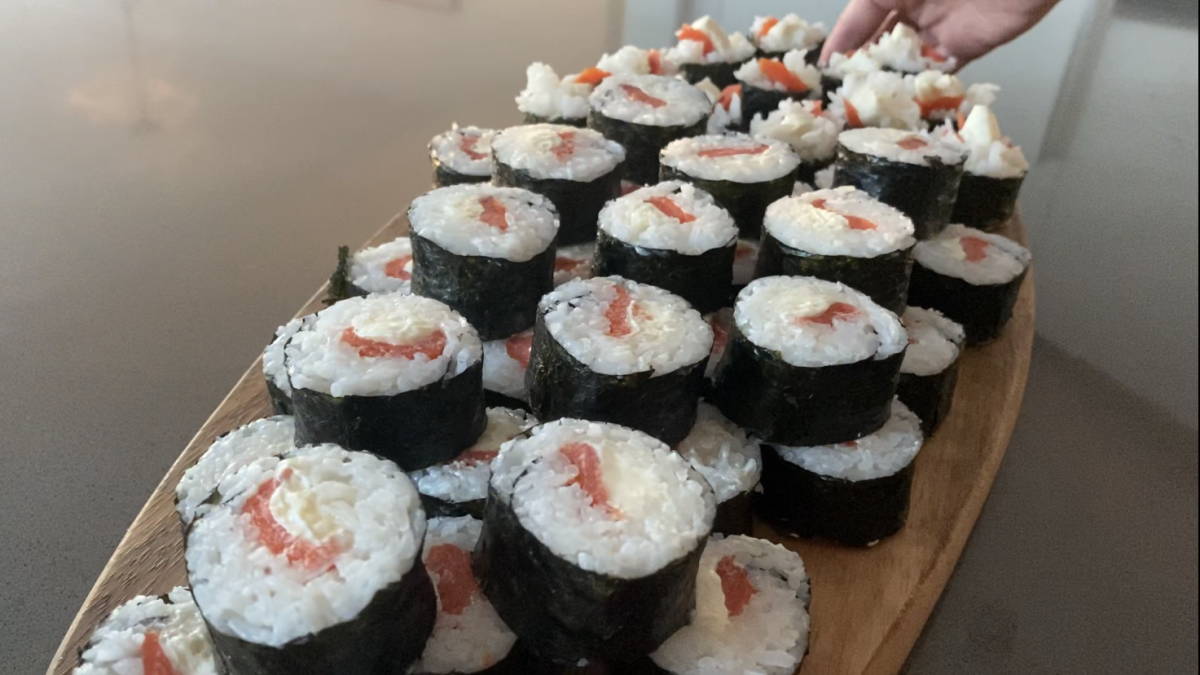
Yay! Today, I have posted my kick-off video on how to make a 7-ingredient sushi roll where you learn everything in under 7 minutes!
There was a lot of content in a very short amount of time, so hopefully this post helps clarify any confusing points. Let’s just go down the highlights!
3 Cups Uncooked Medium Grain Rice — I like Nishiki since it’s a nice compromise between taste and cost. Can use any brand, but I would definitely suggest branching out in the future.
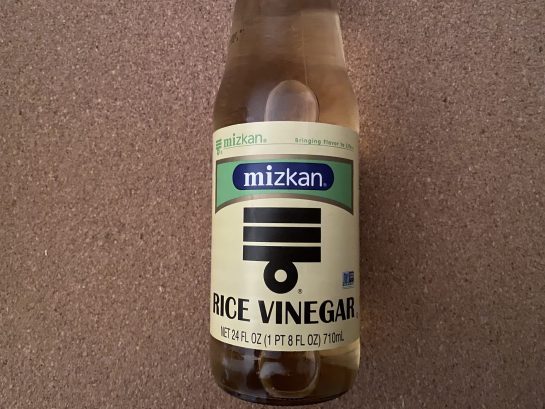
¼ Cup Rice Vinegar — Mizkan is my favorite. I like this particular label (see photo below) but any brand can be used. Just know that different brands have subtle differences.
¼ Cup Sugar — Evaporated cane sugar or white sugar. Either will work.
~½ Tsp. Kosher Salt — Please use kosher salt! And if you can, purchase Diamond Crystal. I promise it’s worth the effort. Morton’s Kosher salt is slightly different so be careful, and use sparingly.
1 Package of Smoked Salmon — Cold smoked. It’s sometimes referred to as Nova smoked salmon.
1 Block of Cream Cheese — Any brand in the big block. Please do not get whipped cream cheese! We will need to cut it into strips.
1 Package of Nori — Any brand with perforations. Most packages are sold with perforated nori, so don’t worry too much.
Rice Cooker (optional) — Helpful and highly recommended. (I bought mine at Costco!)
Rice Rinser — Any bowl will do.
Rice Paddle — Can be purchased in any Asian market.
Large Bowl — Big enough to mix the rice without making a mess, but shallow enough to let the rice steam out while mixing.
Measuring Cup and Stirring Utensil — These are for stirring the vinegar and sugar. I use chopsticks as my utensil of choice.
Bamboo Sushi Mat — Can be purchased in any Asian market. Mine measures 9.5 inches by 8 inches.
Sharp Knife and 2 Cutting Boards
Sponge (optional) — To be used when cutting the sushi, but not necessary. Cutting sushi requires a wet blade so using a saturated sponge is very helpful. However, running your blade under a faucet will do!
Serving Plate — I like to use a cutting board, but any plate will do the trick!
Prepare the Basic Sushi Rice
Prepare 3 cups of uncooked rice (measured by a rice cooker measuring cup)¹ by first rinsing the rice until the water runs clear. (Rinsing helps remove the starch which will give better texture.)
Drain thoroughly. If using a rice cooker, pour the rinsed rice into the rice pot. Fill the pot with waterjust under the 3 cup line for white rice. Cooking the rice with a little less water will help with the final product. The sushi rice should not end up mushy. Cook on the normal white rice setting, not the sushi setting.
¹ A rice cooker measuring cup and is approximately ¾ cup using standard measuring cups.
Mix together the ¼ cup rice vinegar and ¼ cup sugar and stir until dissolved. Then, set aside. Often it takes time for the sugar to dissolve into the vinegar, so it helps to stir the vinegar from time-to-time as you’re preparing the other ingredients.
When you’re ready to roll the sushi, move the rice to your large bowl. Spread out the rice a bit in the bowl to let it steam out. Now add the vinegar-sugar mixture. Sprinkle a little bit of kosher salt and mix until the vinegar is fully absorbed.
Once the vinegar is absorbed, I like to do a taste test. Typically the only adjustment needed is a tiny bit more salt. Please remember that sushi rice is subtle in flavor! It is better to be conservative on the flavor with the rice than to over do it.
Rolling the Sushi
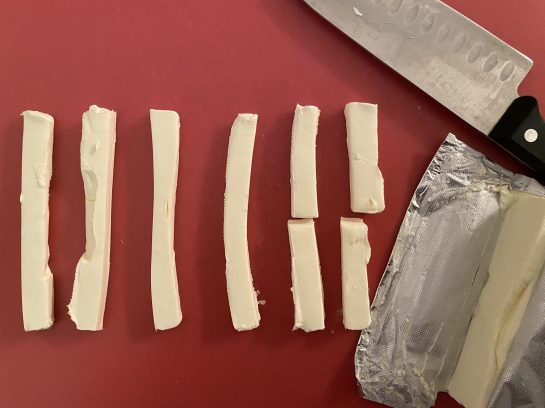
Now it’s time to prepare the salmon and cream cheese. Separate the salmon into usable slices. For the cream cheese, cut an ¼ inch slice from the block from the long side. Cut the slice into two to make two long strips. Continue until you cut the entire block of cream cheese. Some of your strips then need to be cut in half lengthwise to make four pieces. (See picture below)
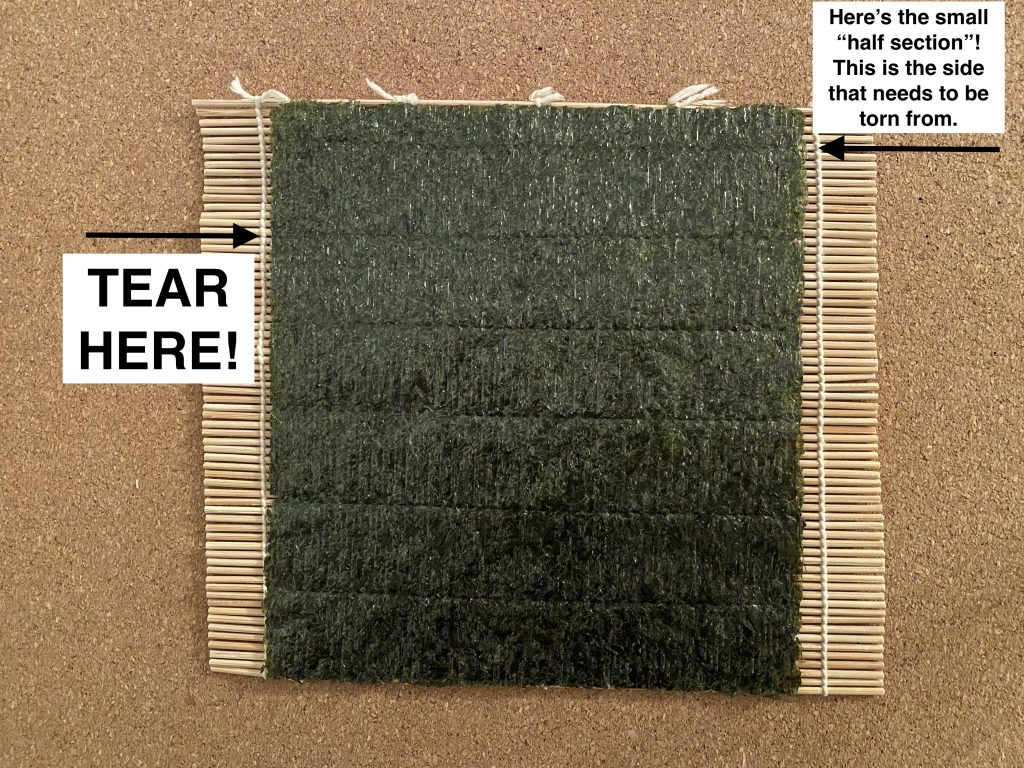
Once you are happy with the rice, prepare the nori. There is a shiny side and a rough side. The shiny side faces down toward the bamboo mat. (That is the side that you will want to show after rolling.)
Look for the perforations. There is always one row that will be a little shorter. This is the side that you will want to tear from! Fold off the first full row from that side. (See the photo below.) Tear off this 1.5 row piece, and save it for another day. (You can make onigiri!) Place the larger piece shiny-side down on the mat.
With the nori on the mat, start spreading the sushi rice on top. Start from the first perforation and spread to the bottom. You can leave a little wiggle room on the sides and bottom. The rice is loosely spread in about a ¼ inch thickness.
Take one piece of salmon and spread close to the bottom edge of the rice closest to you. You may need to tear a shorter piece of salmon to cover across the full length. Now take 1 long piece of cream cheese and one of the half pieces to cover across the full length of the mat. Place the cream cheese next to the smoked salmon.
Grab the edge of the nori closest to you along with the edge of the bamboo mat with your index finger and thumb. Hold the salmon/cream cheese in place with the rest of your fingers.
Now very calmly roll away from you. Try to get a tight roll, and then firmly squeeze. Lift the edge of the bamboo mat from the center and roll a little bit more and squeeze. Continue this motion until the nori is fully wrapped around the roll.
If the nori is not fully stuck to itself, place that side with the seam down on a cutting board. It should be set once you are finished rolling. If not, go ahead and wet your finger and carefully wet the portion of the nori that is not stuck and press down.
Once all the rolls are completed, (I was able to make 6 rolls using all of the rice!) it’s time to cut them! Using your sharp knife, wet the blade (either by wiping the blade with your saturated sponge or by running the blade under the faucet). Take one of your rolls, and cut it in half. Take a half and cut into four pieces. Do the same with the other half and you will have 8 pieces per roll. Remember to continue wetting your blade whenever the nori begins to stick.
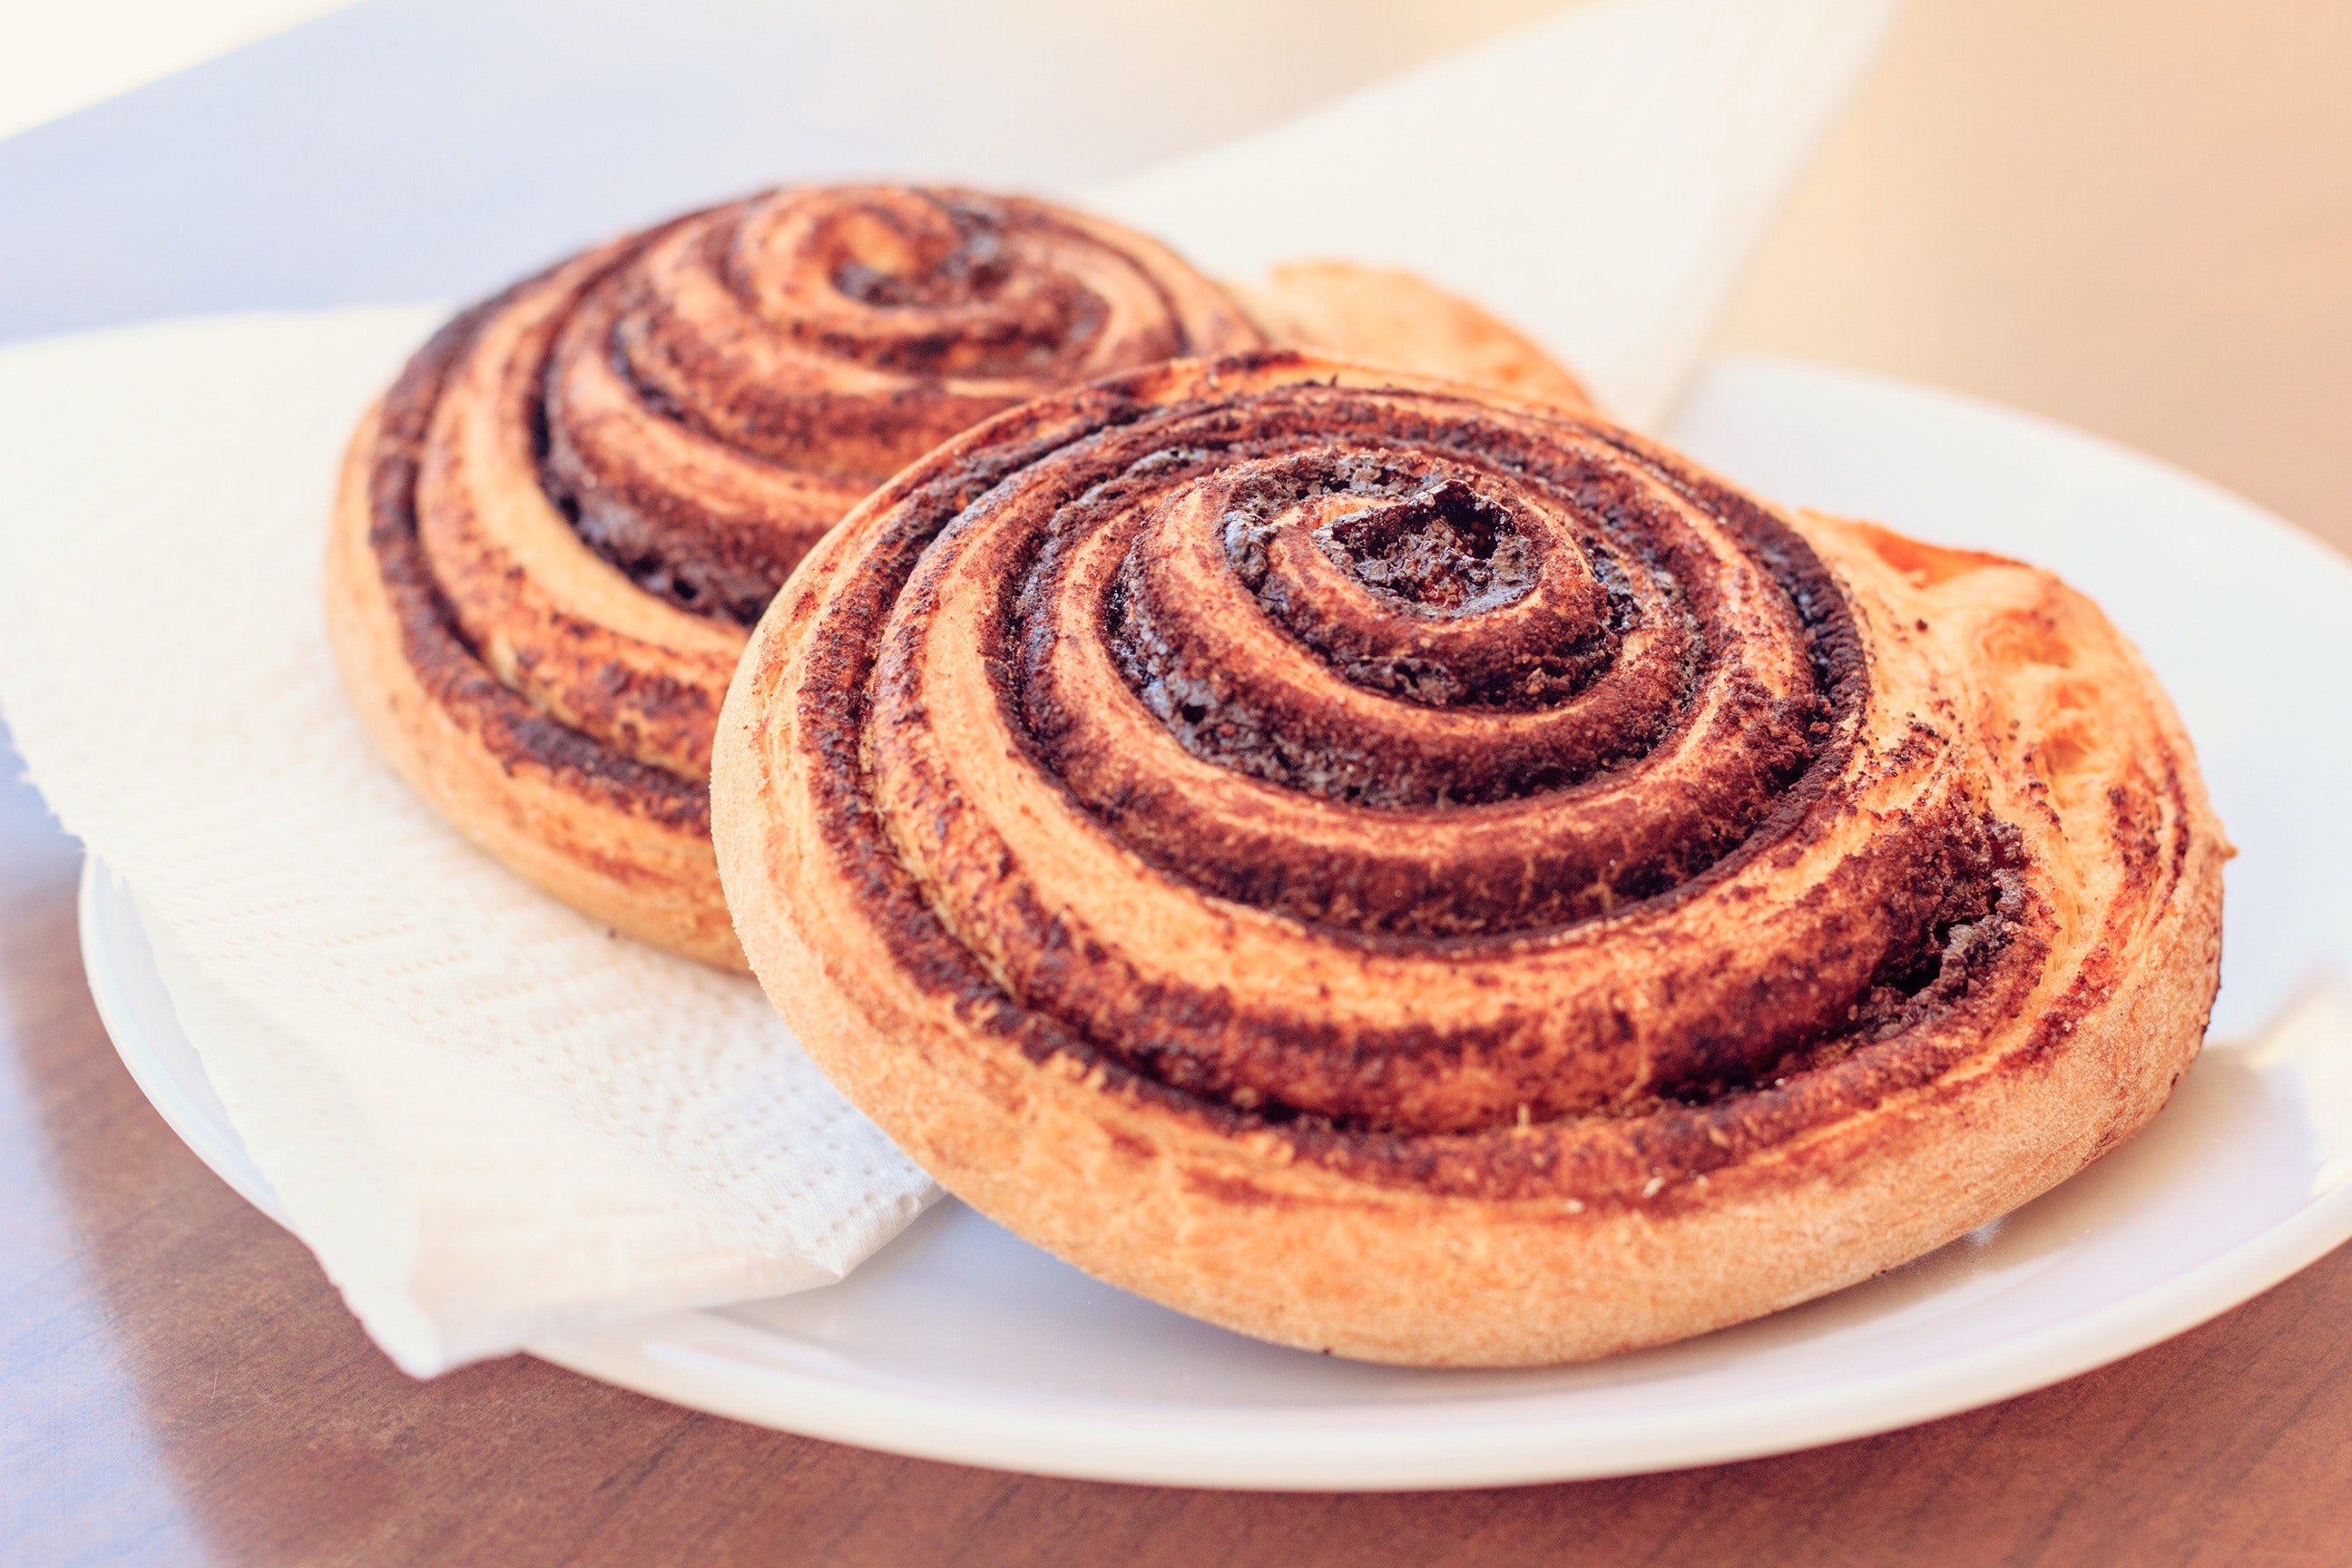
Believe it or not there is actually a very important difference in the cinnamon that is commonly used and sold at the grocery stores! If you check your cinnamon spice jar, does is it read “Ground Cinnamon” or “Saigon/Vietnamese Cinnamon” or “Ceylon Cinnamon?” Chances are you have Ground Cinnamon or Saigon Cinnamon. Definitely go check, I will wait here…
Okay, probably not Ceylon, am I right? I was a Saigon gal until I read an article a while back regarding diabetes sugar control and cinnamon. And like always, this prompted a round of research. What I discovered is the type of cinnamon consumed is important especially if you are interested in using the spice liberally as we do in our family. What I discovered is the more commonly used varieties of cinnamon have high levels of coumarin which in large dosages has the potential of causing liver problems. And I think we can all agree that we want to avoid liver problems whenever possible!
There are basically four varieties of cinnamon which are pretty interchangeable in recipes however Ceylon is definitely different both in coumarin levels and in flavor. But honestly, I find that using Ceylon has not been a problem in cooking or baking.
This is a great article on Superfoodly.com that describes in detail the differences with all four of the cinnamon choices and the levels of coumarin you should be considering as “safe.” You will be surprised how very little Saigon cinnamon it takes to throw you over the limit!
Okay, so now that I have everybody in an uproar, honestly if you aren’t heavy users of cinnamon like the Pao’s, perhaps this really isn’t an issue at all. And maybe all I did was cause massive oxidative stress in your life which is not healthy for a different reason. But I am a big believer in limiting exposure to possible toxins whenever and wherever possible. And when you eat a Cinnabon (Yum!) there is just not a lot you can do about the cinnamon they use however at home you have options! And maybe after reading about the possible benefits of cinnamon, you may want to consider using the spice more often! But just be sure it is of the Ceylon variety! (And yes, it is more expensive!)
By the way, before you throw out your Saigon cinnamon, please consider saving it for ant control! Yes! It works! Just don’t put it on something that can stain like a white carpet…don’t ask. I can tell you with confidence that ants are not fond of cinnamon so if you have ant problems just hang on to that bottle!
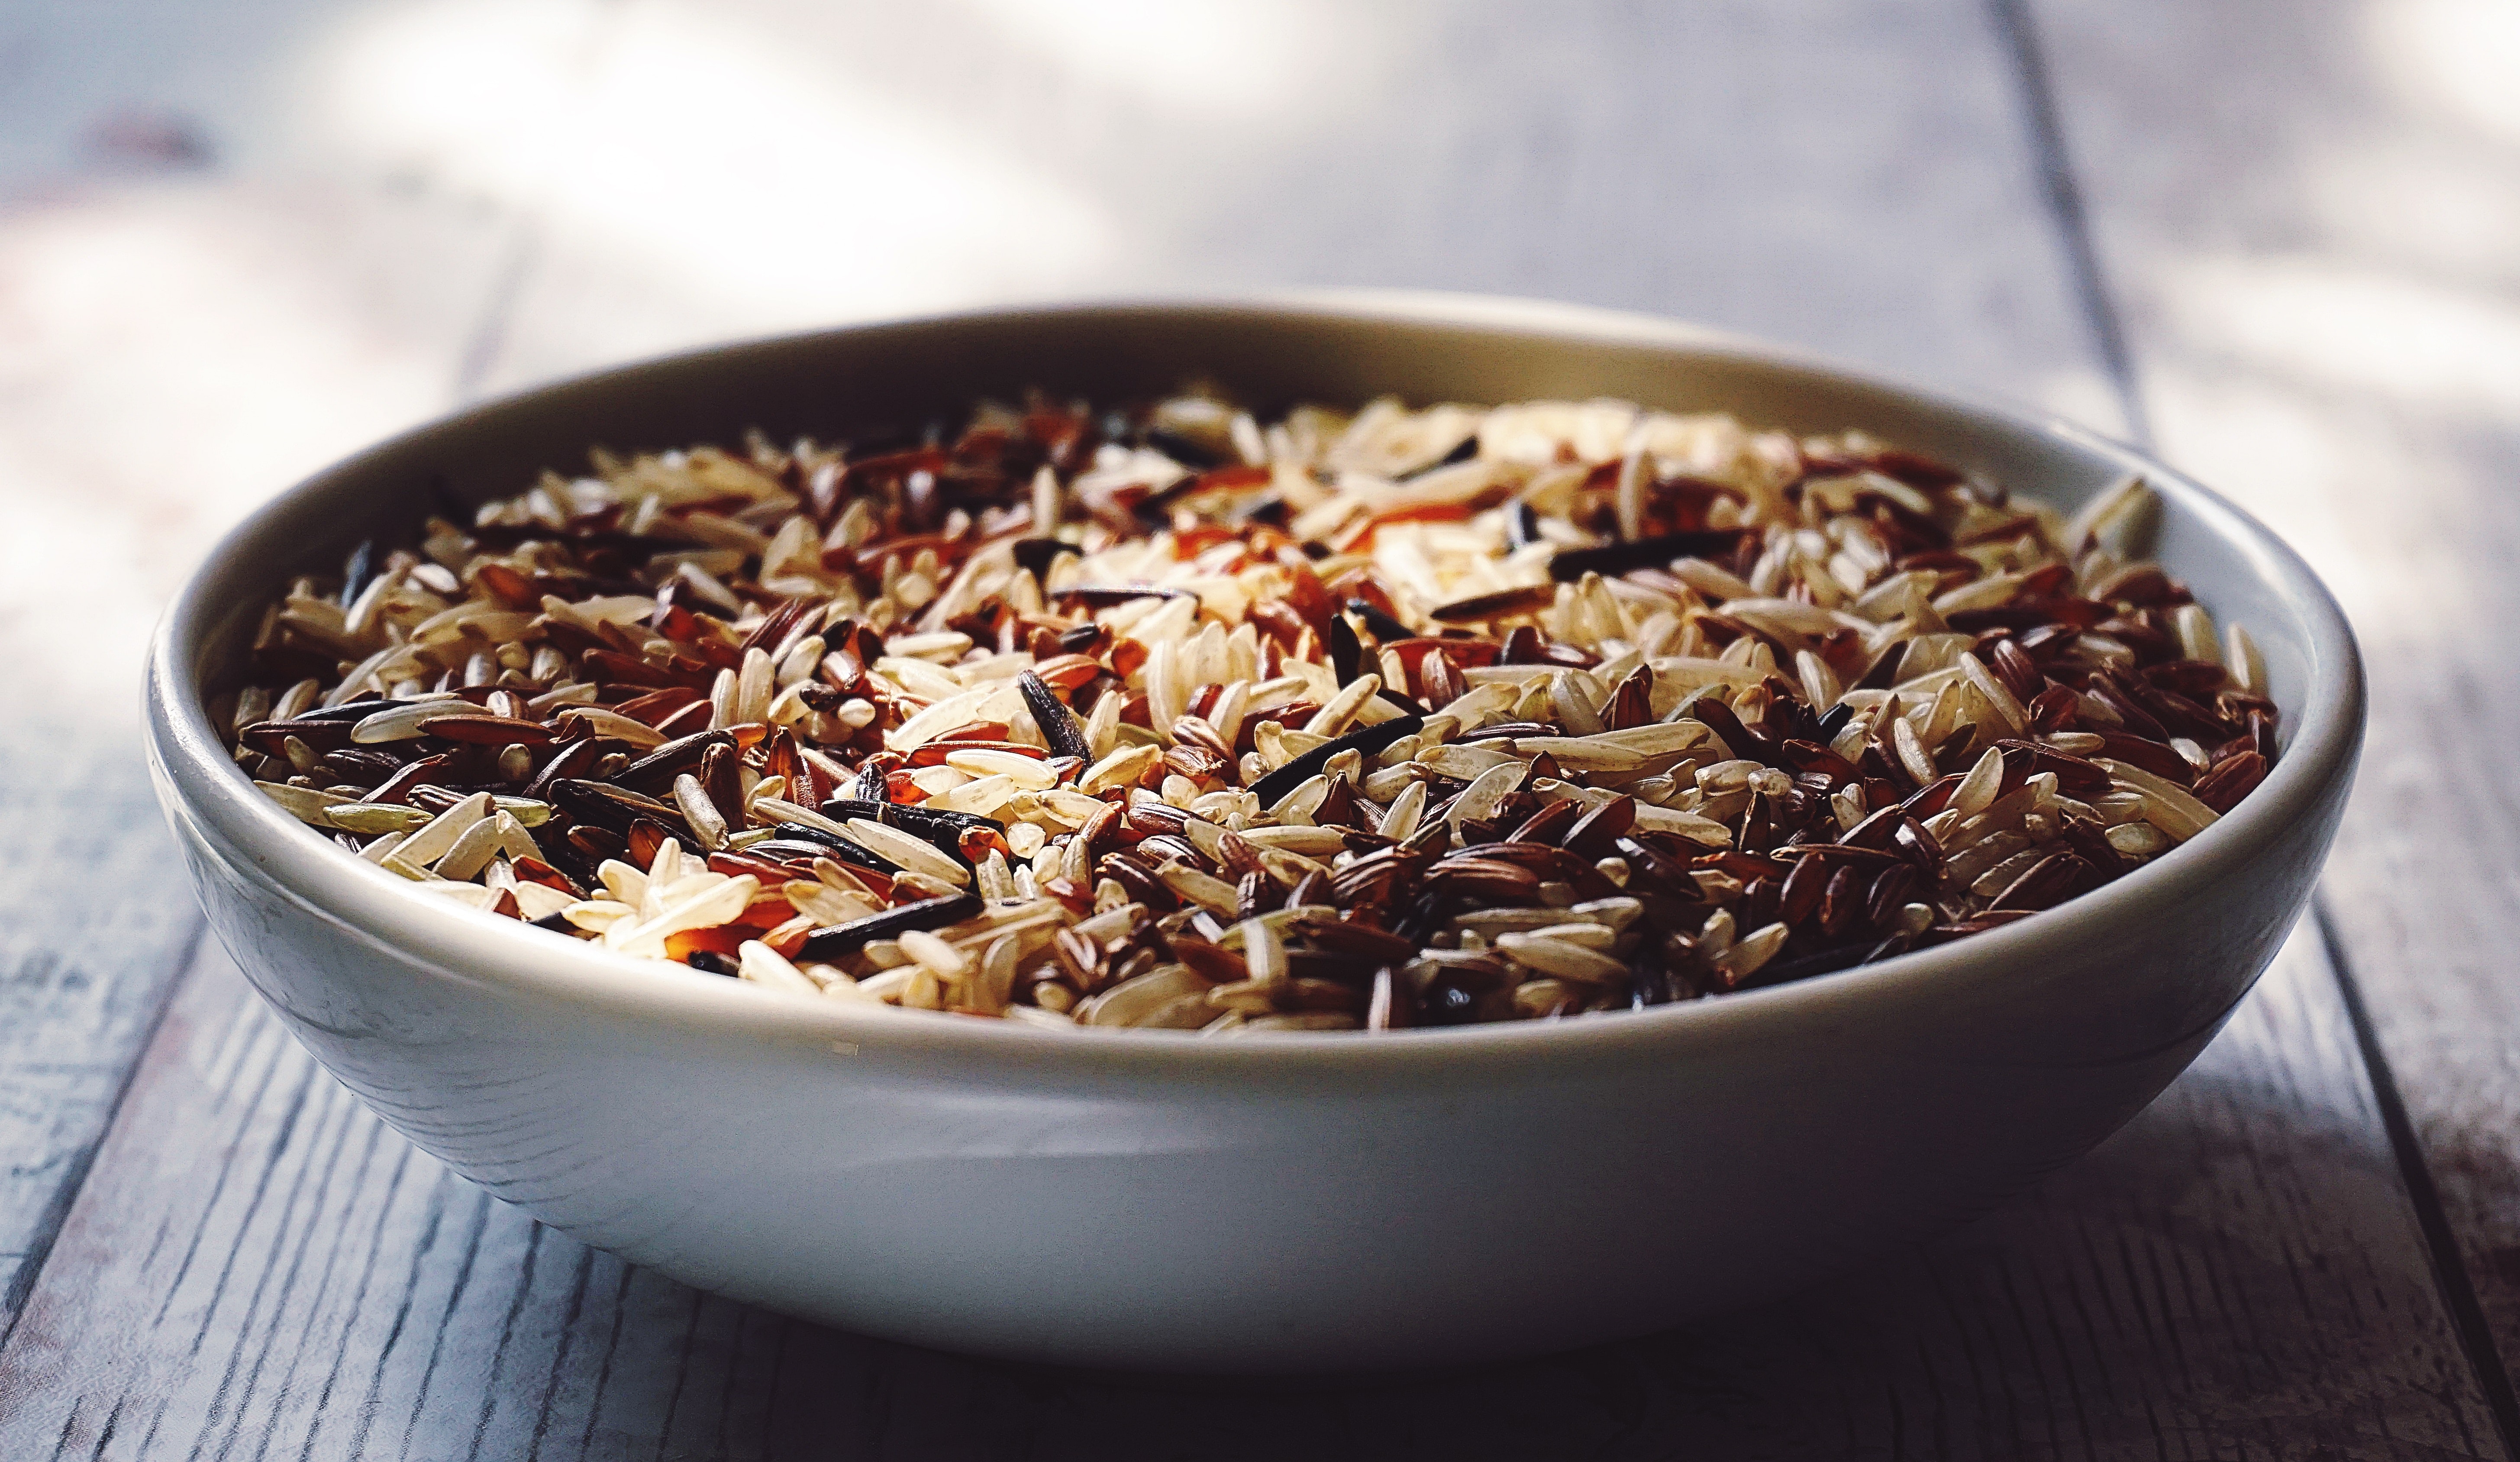
Being Japanese, I always grew up eating rice, and it was always white rice. It wasn’t even a question what kind of rice would be served at mealtime. So once I had my own family, it was white rice until my mom started telling me she switched to brown rice. What??? My whole life seemed like a lie! What was this madness??? I listened to her arguments that there was more fiber etc. and it seemed to make sense. So then I decided that I wanted what’s best for my family too so I gave it a go!
Well, over the years I have gone back and forth on this topic. I decided to eventually stop with the brown rice because at the time things were pointing towards brown rice not really having the nutritional value and perhaps having even some negative aspects with regards to phytates. And let’s be honest, I just think white rice is more enjoyable! Well, being at Buchinger Wilhelmi initiated the debate again with my husband. And I decided it was time to revisit the topic and find out what the science says now since a good 15 years had passed and things could have changed!
The good news is that basically it is a wash whether you eat brown rice or white rice (Whew!) unless you have health issues to consider because of the high carbohydrate count. And just know that you will find many sites very much “Team Brown Rice”so don’t be shocked by my personal conclusion! One thing to consider, there is a prebiotic benefit of brown rice that you do not get with white rice which may help tip the scale slightly towards eating brown rice. For now, I will continue enjoying white rice while dining out, but I will incorporate more brown rice at home as Stephen would like the positives associated with it.
Here are two articles that take a more middle ground on brown rice versus white rice arguing both sides. Just know that I believe you can’t go wrong either way, but you can be the judge for yourself!
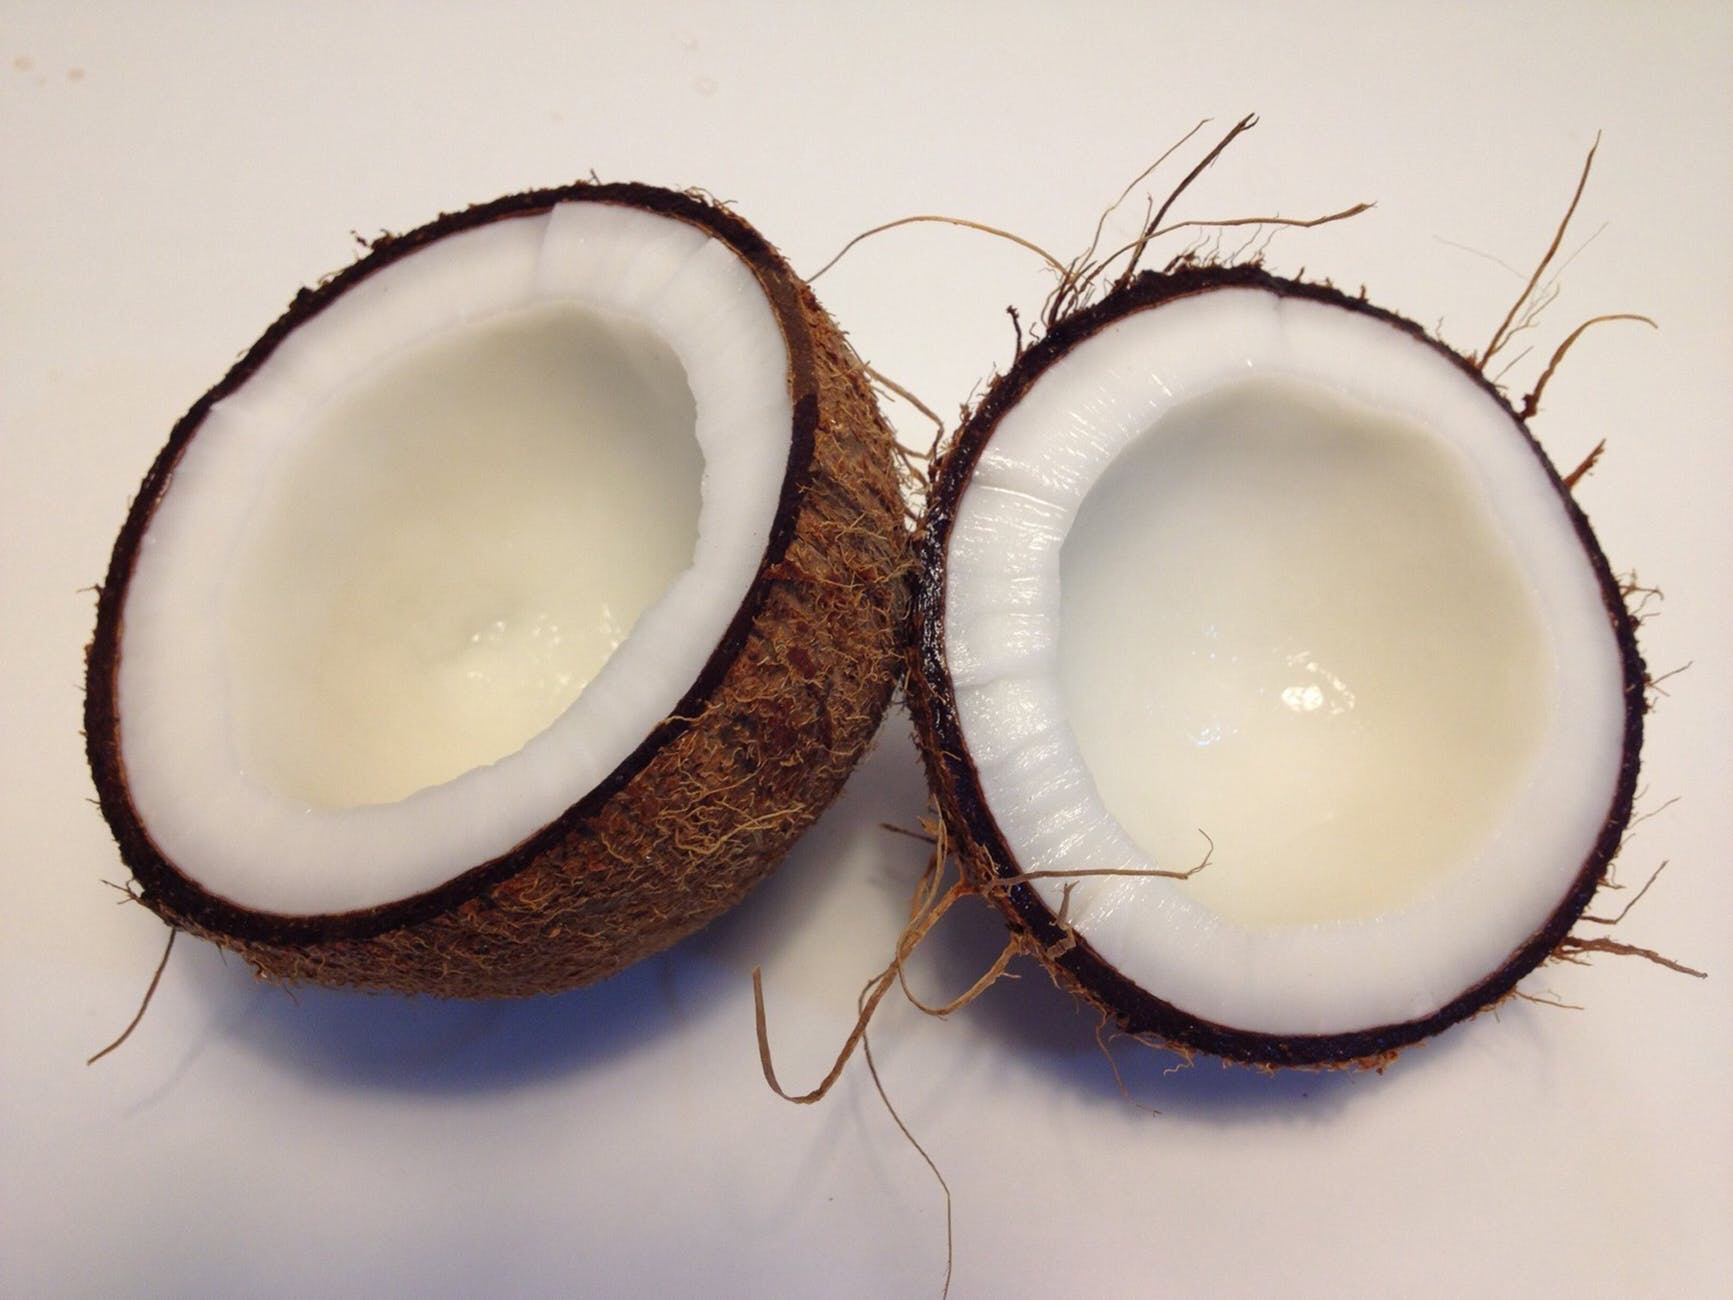
In the news recently, a Harvard professor (Karin Michels) came out to say in July 2018 that “coconut oil is pure poison.”
As some of you know, I have been drinking a tablespoon of coconut oil with my daily coffee for 15 plus years. At the time I started, I was trying to figure out ways to help my daughter’s eczema. And while she couldn’t stomach the flavor and smell, I found that it helped my skin and also helped my energy levels. Of course, these are just my own observations on myself! This article published on Healthline sums up nicely the reasons why I started drinking coconut oil in the first place.
So perhaps when I started this relationship with coconut oil long ago, the health benefits were overblown. However, there are reasons to believe that the medical establishment is slow to change…think about trans fats that were popularized in the 50’s and sold to us as a “healthy alternative” which not until relatively recently are being phased out. Here is a New York Times article that gives a timeline of events. And sometimes interests are misaligned for instance take the FDA and pharmaceuticals, Unfortunately this always comes at the cost of each individuals well-being. Listed below are some articles that help refute some of the mainstream claims of coconut oil being “bad for you because of the saturated fat” or “pure poison.” As always, take the time to investigate for yourself and see where you fall on this spectrum of coconut oil.
Here is a great article on a website by Dr. Axe refuting the American Heart Association.
One of my favorite sites, Mark’s Daily Apple goes down the list of human studies regarding coconut oil. And while there isn’t overwhelming evidence of the positive health benefits, there really wasn’t the cause for coconut oil to be called “pure poison” either.
Dr. Aseem Malhotra came out very strongly against Karin Michels in the Daily UK and in defense of coconut oil.
But I believe that this article in Science Alert sums it up quite nicely.
“As the saying goes, the dose makes the poison, so if you do have a soft spot for coconut oil, just take care not to overindulge.”
For myself, I will continue to take my 1 tablespoon a day with my morning coffee. (along with my collagen and raw egg yolk, but that will be for another post!)